SHEVUES: Making Chocolate Bars
Of course, when shevues comes along, you know what that means... milkhiks!
I decided to get a little creative with my students and make chocolate bars for shevues this year. Although it sounds like a difficult process, it’s very easy and a great way to ensure that each child gets to make something that they want to eat. I have a vegan student so we substituted the dairy chocolate for vegan friendly alternatives so that she could also be part of the shevues fun.
INGREDIENTS:
1. 1 large block of milk chocolate
2. Strawberries, diced
3. Thick chocolate (white) fudge sauce
4. Thick caramel sauce
5. Chocolate mould
Now in my case, all I had was Disney cooking moulds but I highly recommend purchasing some of the Judaica chocolate moulds Available online.
Step 1 - Melt the chocolate block
Step 2 - Coat the bottom and sides of each mould with the melted chocolate. Leave to set in the freezer for 10 minutes. Re-coat the mould with chocolate if necessary.
Step 3 - Let the kids run wild with their choices of fillings. Add these to the moulds. Leave to set in the freezer for 15 minutes.
Step 4 - Pour the remaining melted chocolate on top of each of the filled moulds to seal the top. Leave to set in the freezer for 15 minutes.
Step 5 - Carefully remove chocolates from the mould
Step 6 - Est gezunterheyt!
Feel free to experiment with fillings - as with all chocolate, there’s no right or wrong answer.
A freylekhn shevues!
Peysakh Snap
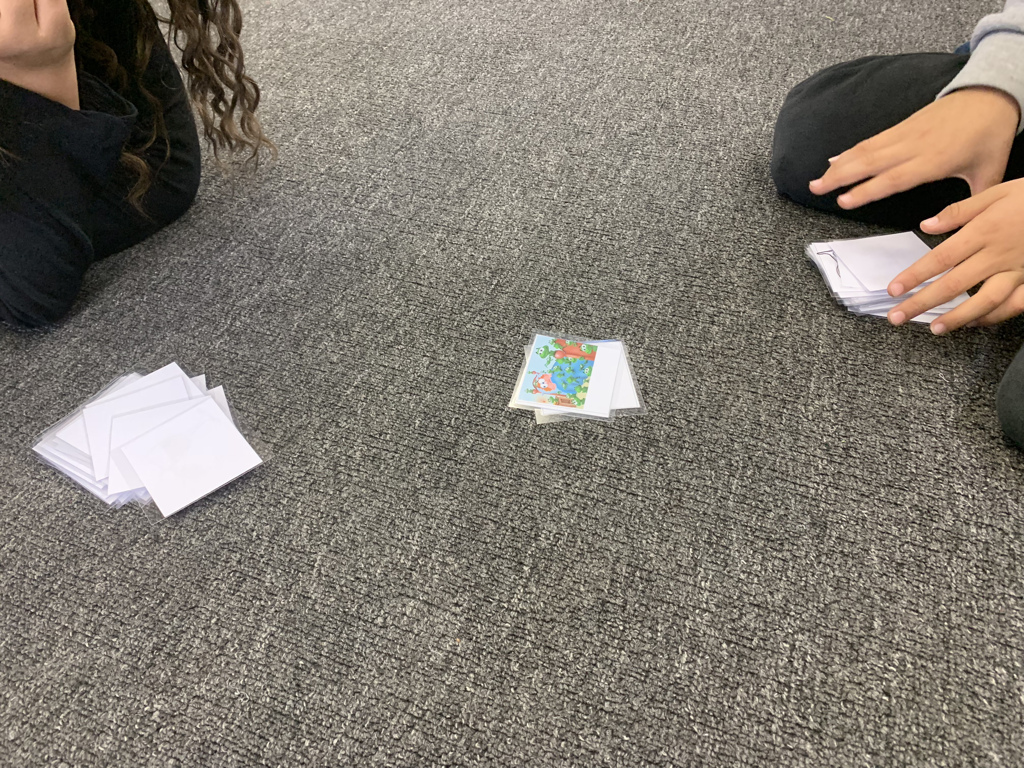
A fun way to review peysakh vocabulary and matching print and script just in time for Peysakh! The document is equivalent to one set of cards for one players so print as many sets as you will need. Just cut them out, laminate them and away you go!
| Peysakh Snap |
Purim Reading and Songs
Here are some beginners reading tasks introducing the characters of Purim, as well as the lyrics to the song ‘Purim Lib’.


Pontshke Party!
It’s a tradition of mine to have a khanuke simkhe with my Yiddish class, as I’m sure many of you do too. This year, I themed the party as a pontshke party, which the kids were really excited about. Of course, there were delicious pontshkes ready and waiting, but I also decided to take the opportunity to practise some letter formation in a fun way. Each child was given a pontshke outline on a piece of paper and asked to add ‘pey’ sprinkles to their pontshkes. The kids loved doing this and as you can see, they really went to town! It’s such an easy way to make letter writing all about khanuke and a great piece of work for the kids to take home.
Yom Kiper: Saying Sorry
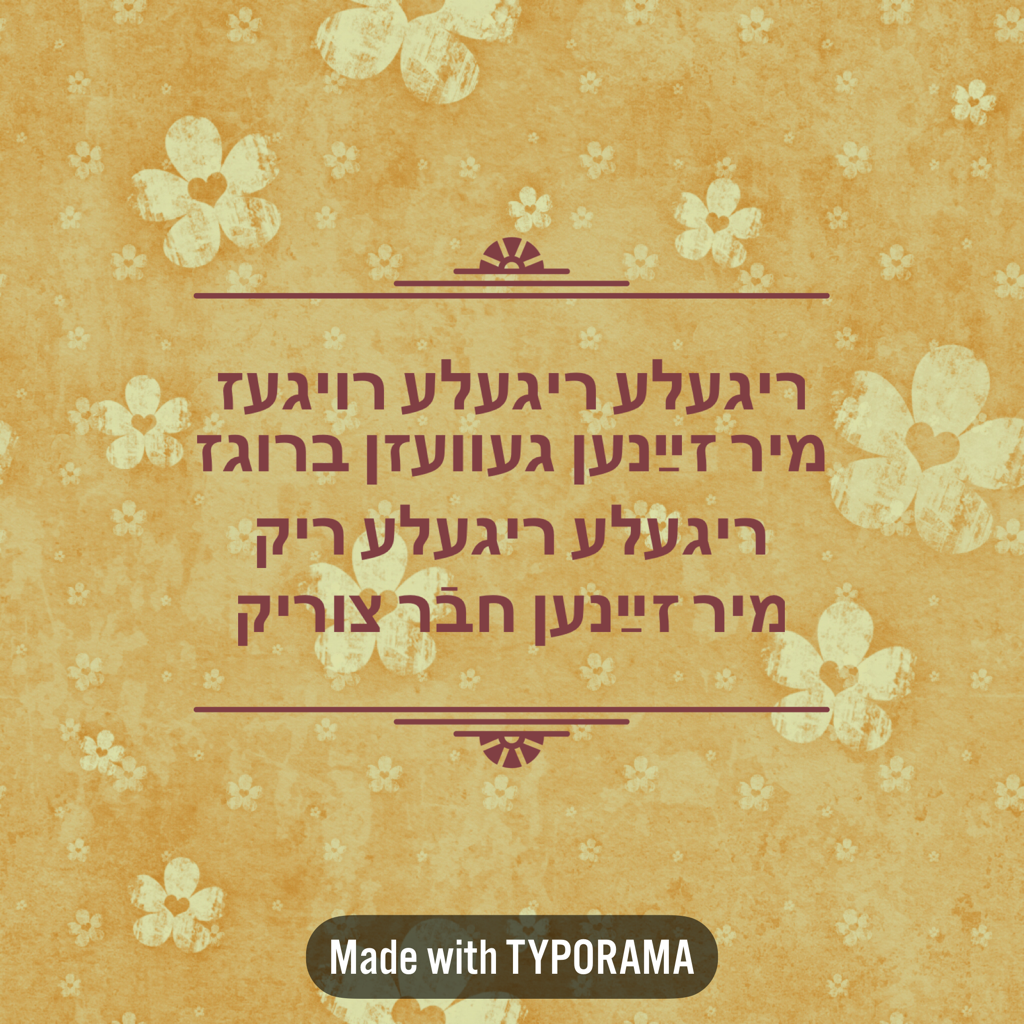
The brilliant Paula Teitelbaum recently visited Melbourne to work with some of the primary school Yiddish teachers. Needless to say, it was an invaluable experience and I learned a great deal. One of the very many things that Paula taught us was the poem ‘rigele rigele roygez’. I thought it would be a fantastic poem to teach my beginners kids class for Yom Kiper. I even introduced some actions along with the poem so that the kids could remember the order of the words, which really helped. If you’d like to hear the poem recited, you can hear it on YIVO’s Ruth Rubin Legacy site in the children’s songs section.
My students loved learning the poem and I sent each of them home with a copy of the words to go over at home. I highly recommend it as a quick and easy poem to learn for Yom Kiper.
My students loved learning the poem and I sent each of them home with a copy of the words to go over at home. I highly recommend it as a quick and easy poem to learn for Yom Kiper.
Rosh Hashone: Leshone Toyve Song
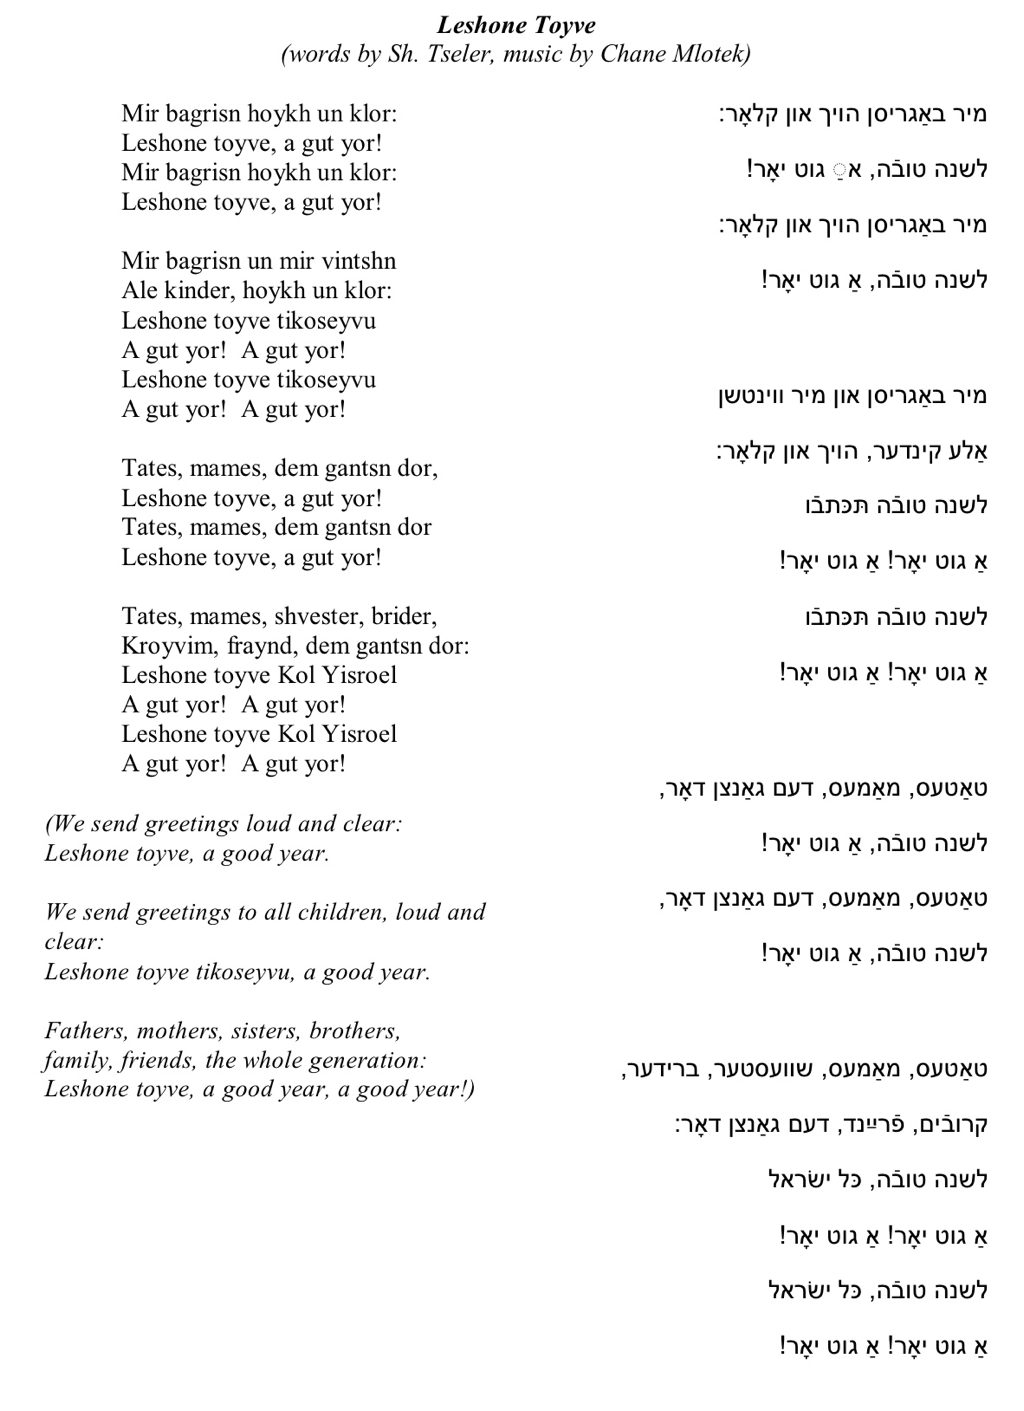
Rosh Hashone is a wonderful time of year. I love seeing my students writing leshone toyve cards and the grins on their faces when they see that עפּל און האָניק await them. It’s also a yontef that’s rich in songs and poems. My personal favourite to teach is Chana Mlotek’s beautiful song about Rosh Hashone.
I’ve lovingly borrowed the lyrics as printed in the Boston Workmen’s Circle Rosh Hashone Program from 2013 to share with you all.
You can also watch the brilliant woman herself, Chana Mlotek, singing the tune here:
I’ve lovingly borrowed the lyrics as printed in the Boston Workmen’s Circle Rosh Hashone Program from 2013 to share with you all.
You can also watch the brilliant woman herself, Chana Mlotek, singing the tune here:
Shevues: Making Shevuelekh/Reyzelekh
Shevues is one of my favourite yom-toyvim! It represents such a pivotal moment for the Jewish people and continues to define and influence how we live today.
There are so many wonderful traditions that you can share with your little ones. Ever since I was a kid, I loved making shevuelekh.
What’s the significance of shevuelekh? Well, folklore suggests that roses were blooming when Moyshe returned with the Ten Commandments. Given that roses were not always in bloom in North-Eastern Europe in time for Shevues, the tradition of creating paper reyzelekh (roses) was born. Jews would cut designs out of folded paper, only to unfold them and decorate their houses with them, symbolising the roses at Mount Sinai.
As a teacher, I love sharing this Ashkenazi tradition with my students. The kids love being able to experiment with their designs and it also gives me the chance to review their knowledge of the Yiddish words for various shapes.
For a wonderful tutorial on how to make shevuelekh, click the link below:
Purim Crafts: Gragers
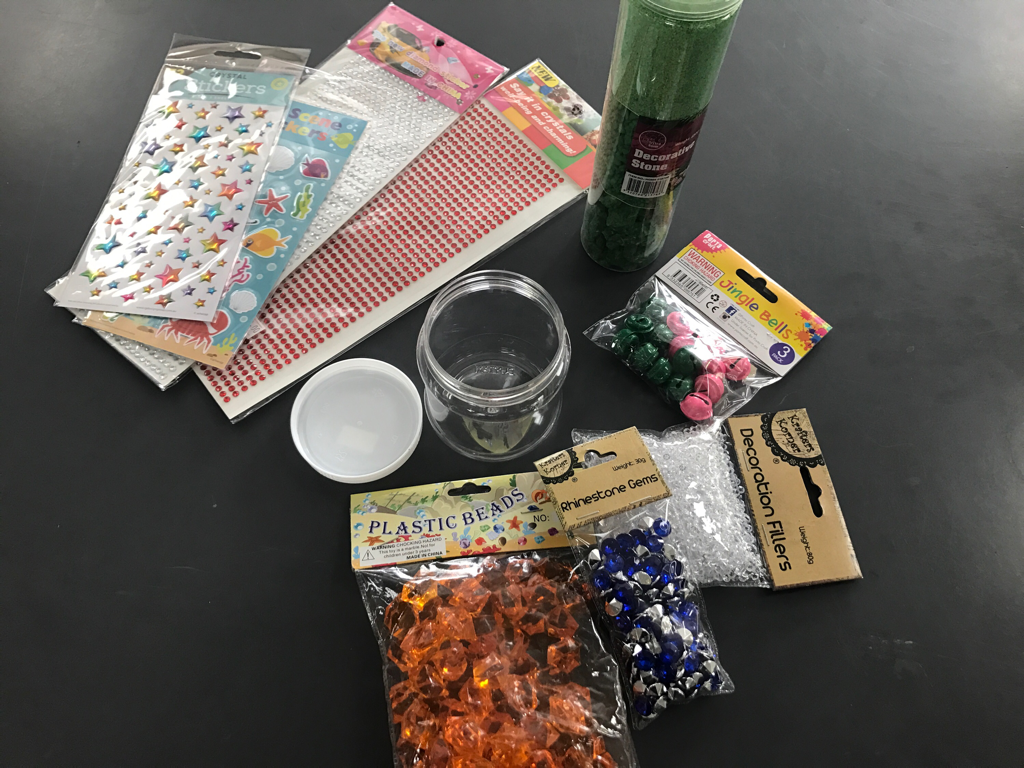
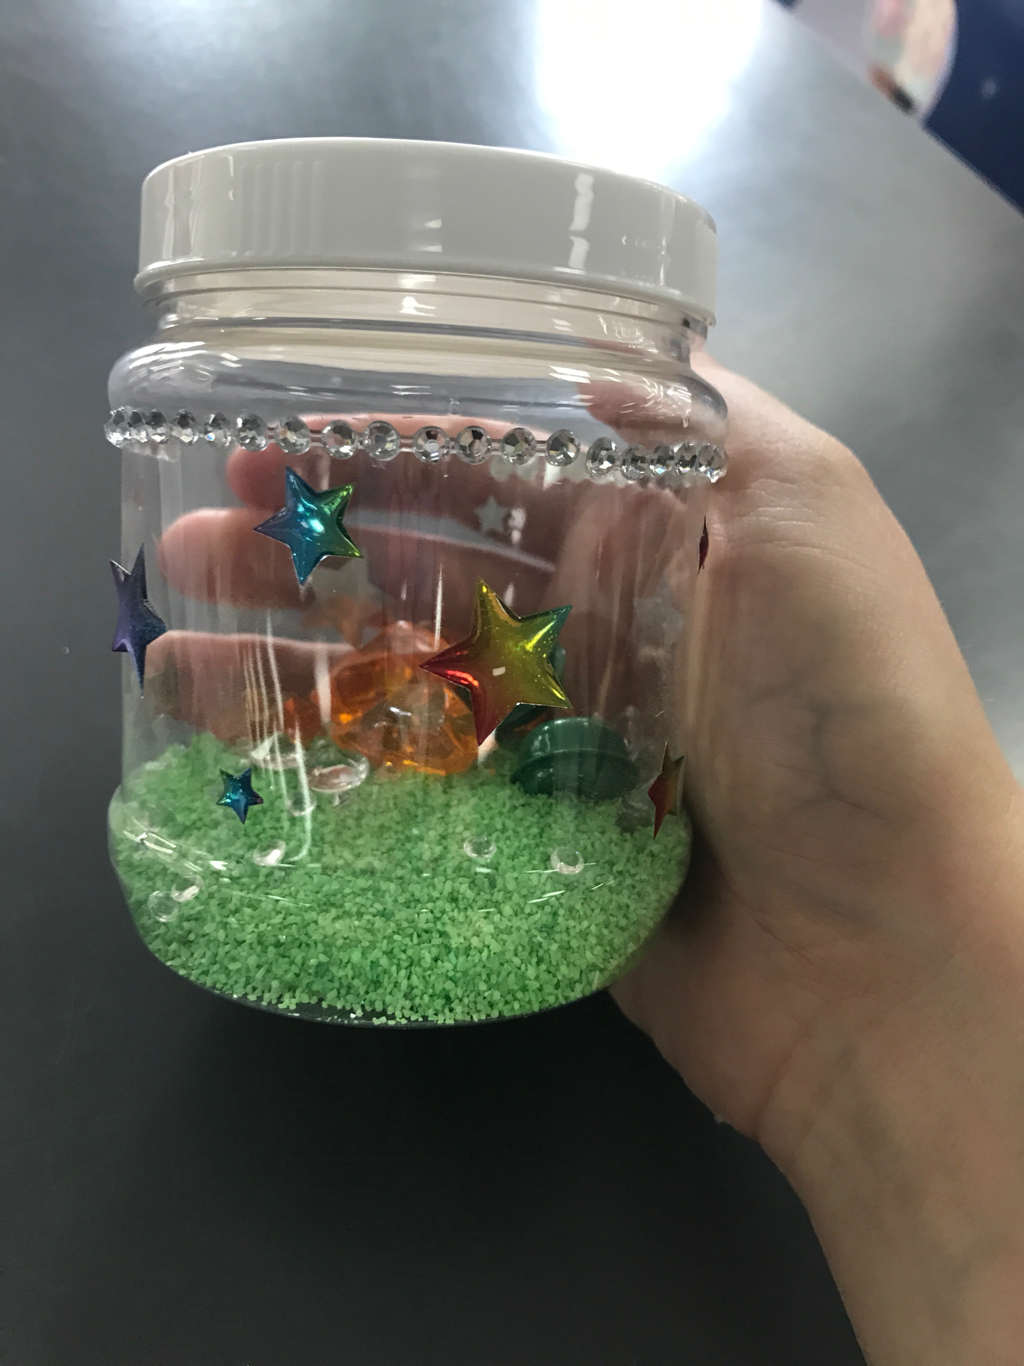
Looking for a simple way to make gragers for Purim? Look no further than your local $2 shop! I delved through the shelves and used these very simple materials to create gragers with my students.
Resources:
- Little bells
- Stickers (to decorate)
- Small plastic jar
- Beads
- Decorative stones
I let the kids go to town and fill their containers with whatever they felt would make the best noise. They also decorated their gragers and loved testing them out when I called out “Homen”.
So simple and fun!